Knees Over Toes: Obliterate Knee Pain, Rehabilitate Injury, and Regain Full Range of Motion in Your Ankles, Knees, and Hips
4 Exercises to Bulletproof Your Ankles and Knees and 3 Stretches to Unlock Your Hips, Hamstrings, and Low Back
One year ago, I couldn’t run.
I tweaked something in my left knee, a repetitive use injury by my diagnosis, that caused shooting pain and knee tightness.
I took time off in hopes to recover. Weeks that spiraled into nearly two months.
Within 10 minutes of my first run in over 6 weeks, the pain was back.
Injuries can be defeating and, I admit, I felt hopeless.
If 6 weeks of rest wouldn’t rehabilitate my knee, it felt like there was no solution that would.
But rather than sit around moping, I started researching.
Then I remembered this guy I heard about a few years ago but immediately (and ignorantly) dismissed sheerly because of his name:
Since I started exercising as an elementary school kid in my garage, I have been steeped in the belief that your knees should never pass over your toes.
If they did, we are taught, you are guaranteed to be injured sooner or later.
As I was about to find out, that false belief was dead wrong.
Learning how to be strong, athletic, and flexible while your knees are over your toes is what allows you to run, jump, and move pain free for life.
Knees over toes isn’t just for people with knee injuries or runners.
The knees over your toes exercises and stretches will:
relieve lower back pain,
bulletproof your ankles and knees,
drastically reduce your risk of injury,
allow you to go up and down stairs in old age,
unlock new heights of mobility in your hip flexors, and
enable you to get into newfound positions and ranges of motion.
We will cover:
Four exercises to bulletproof your ankles and knees.
Three stretches to unlock your hips, hamstrings, and low back.
Provide a link to a free PDF with the full Knee Ability Zero program.
Let’s dive in.
4 Exercises to Bulletproof Your Ankles and Knees
These exercises and stretches can be performed as an entire “Knees Over Toes” workout.
But for adherence and consistency, I don’t recommend that approach.
Instead, utilize the rest intervals in your current exercise program to perform these movements.
For example, say you’re performing 4 sets of bench press.
Rather than sitting around between each set, bust out 20-25 Tibialis Raises (Exercise #1 below) during each rest interval.
This way you can sneakily build bulletproof ankles and knees without making your exercise routine more time consuming or complicated.
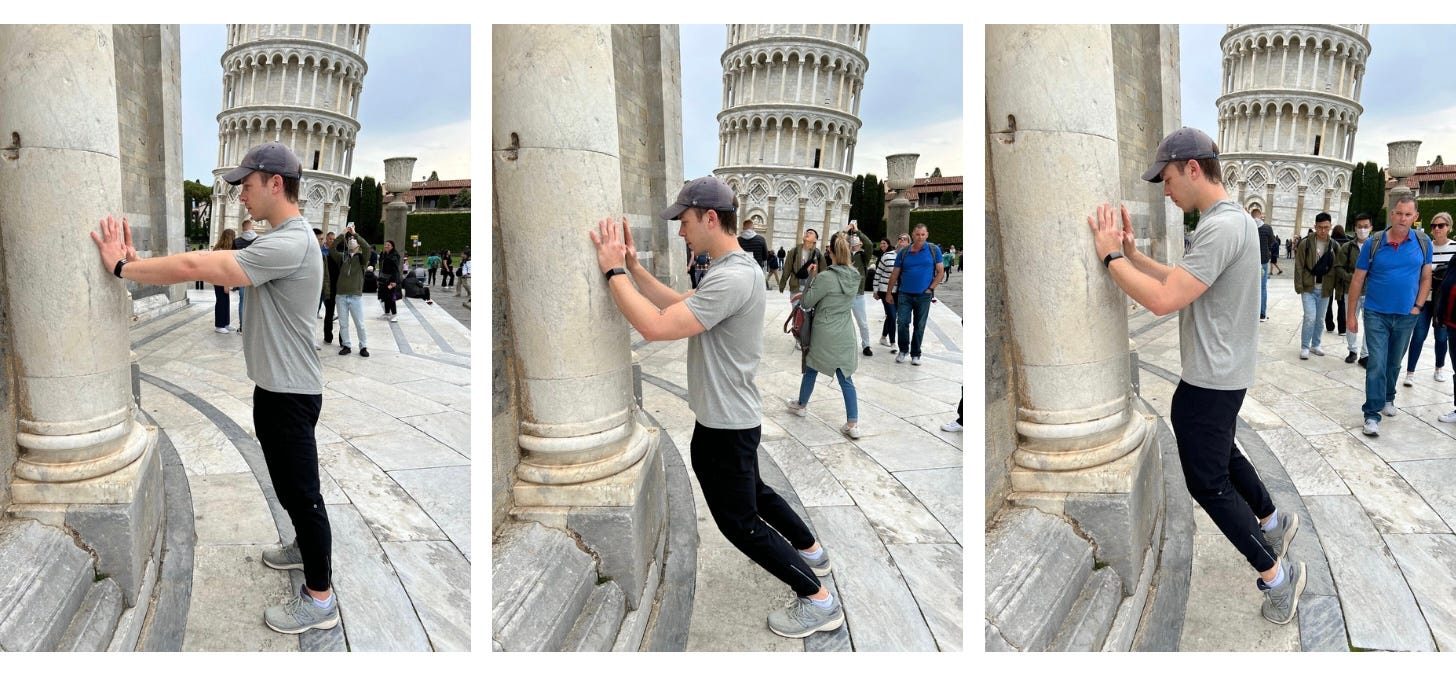
(Bonus points if you can guess the monument in the background of my demo photos below.)
Exercise #1: Tibialis Raises
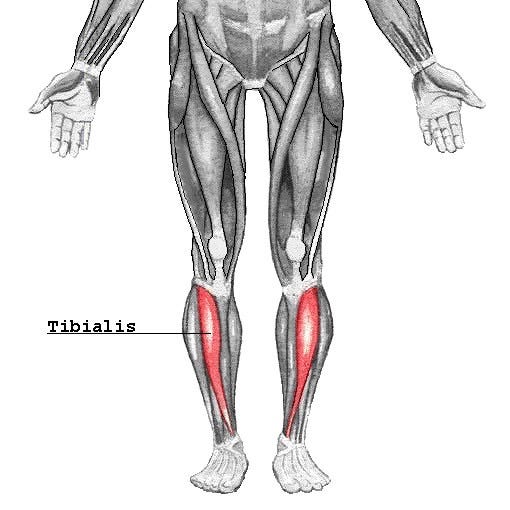
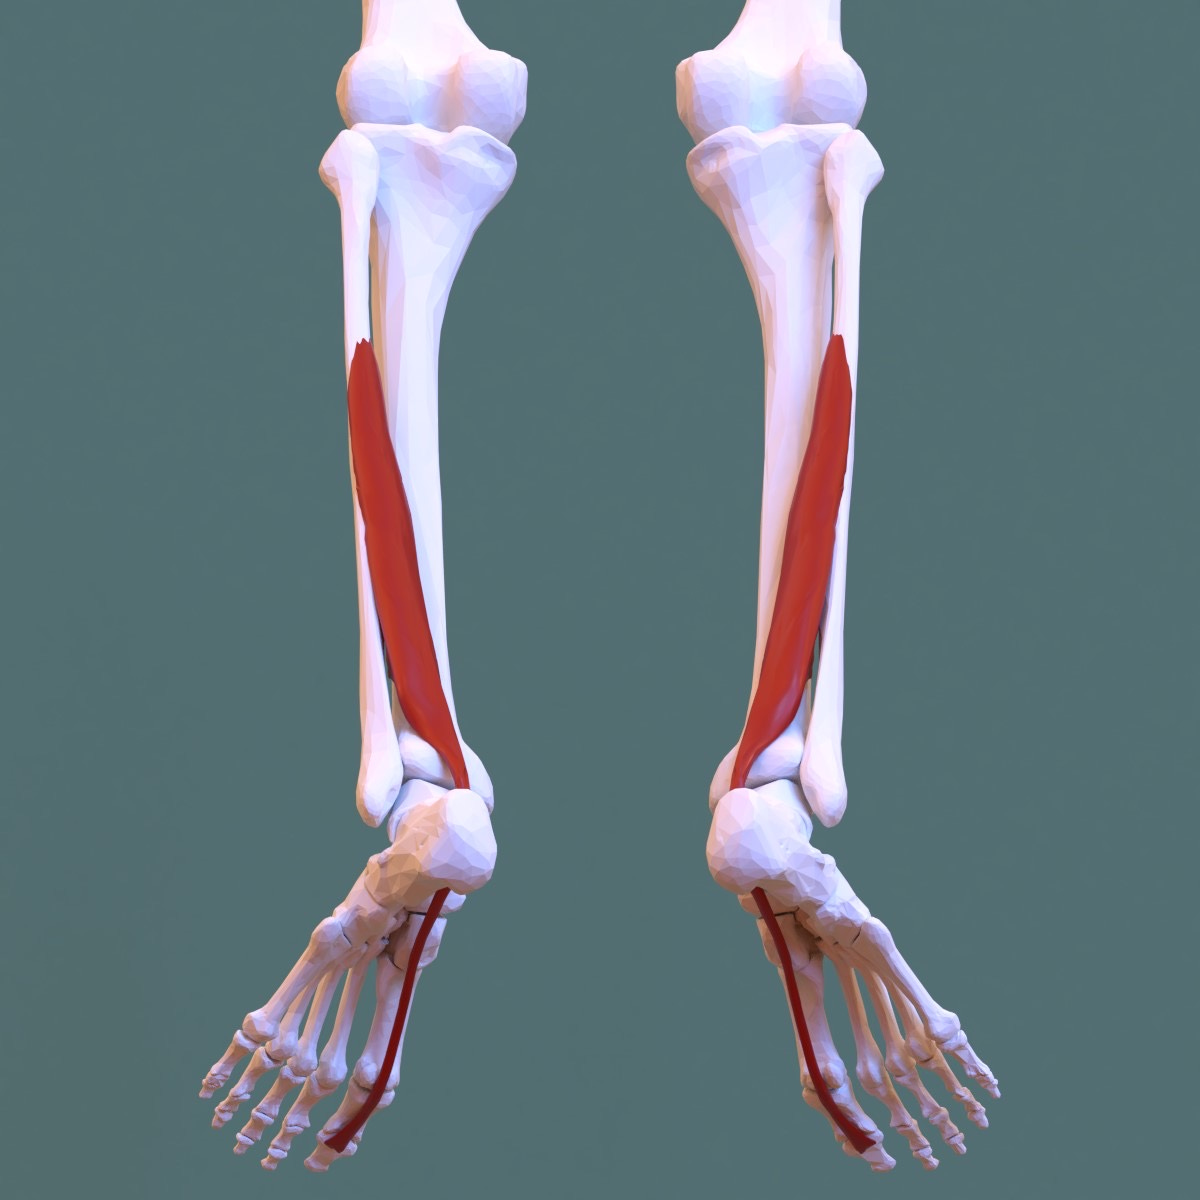
Your tibialis muscle is on the front of your lower leg, right beside the shin bone.
It helps move and decelerate your foot while walking, jumping, and running.
Developing strong tibialis muscles will help you substantially in old age.
Seniors often lose their ability to perform the eccentric (or deceleration) part of a movement which makes activities such as walking down a flight of stairs really challenging.
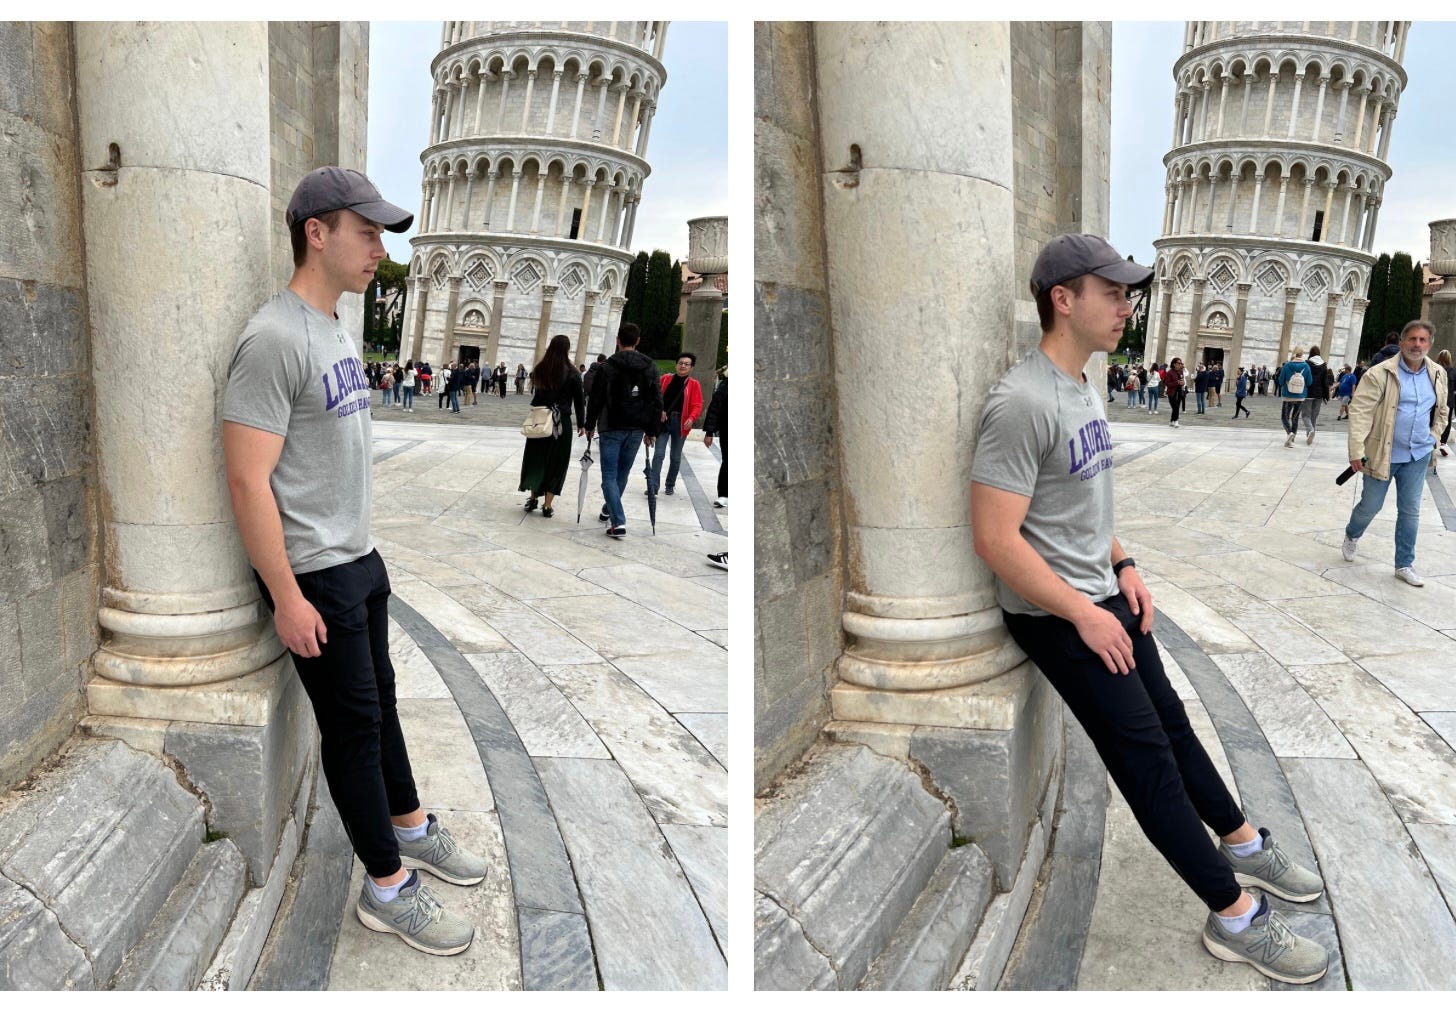
To perform a Tibialis Raise, lean your butt and lower back against a wall with your legs out straight.
Keeping your legs straight, flex your toes up towards your knees and hold that contraction for 2 seconds. Lower back down and repeat.
Aim for 20-25 reps per set.
The further your legs are away from the wall, the harder the exercise will be.
So, if you can’t get 20-25 reps simply move your feet closer to the wall as shown on the left below.
Exercise #2: FHL Calf Raise
FHL stands for flexor hallucis longus which translates to "a long muscle that flexes your big toe."
The FHL muscle originates on the bottom of your big toe and runs along the bottom of your foot to the middle of your calf.
It helps stabilize your ankle when your weight is on the balls of your feet and is especially important when force passes through your big toe.
To perform a FHL calf raise, put your hands against the wall and back your feet up until your ankles are stretched to the point where your heels come slightly off the ground.
Without bending your knees or hips, perform a calf raise.
Your weight will naturally be on your big toes at the top position and you should feel a stretch along the back of your calf throughout the movement.
Aim for 20-25 reps per set.
To make the movement easier, move your feet closer to the wall.
To make it harder, move them further away.
Work towards moving your feet further away from the wall while ensuring your heels are close to touching the ground in the bottom position.
The further your feet are from the wall while maintaining heel contact with the ground, the greater your ankle range of motion.
Exercise #3: KOT (Knees Over Toes) Calf Raise
Stand at an arm’s length from the wall and shift your body forward so that your knees are over your toes.
Your thigh bone should remain perpendicular to the ground. In other words, you’re just bending forward at the ankle.
Don’t go so far that it causes pain, but aim to move forward enough so that your heels are slightly off the ground.
From that position, flex your ankles up like you would in a calf raise.
The motion should only be coming from your ankles. Your knees, hips, and shoulders should stay in a straight line.
Perform 20-25 reps.
Once you can do 25 reps with ease, you can progress to a single leg KOT Calf Raise.
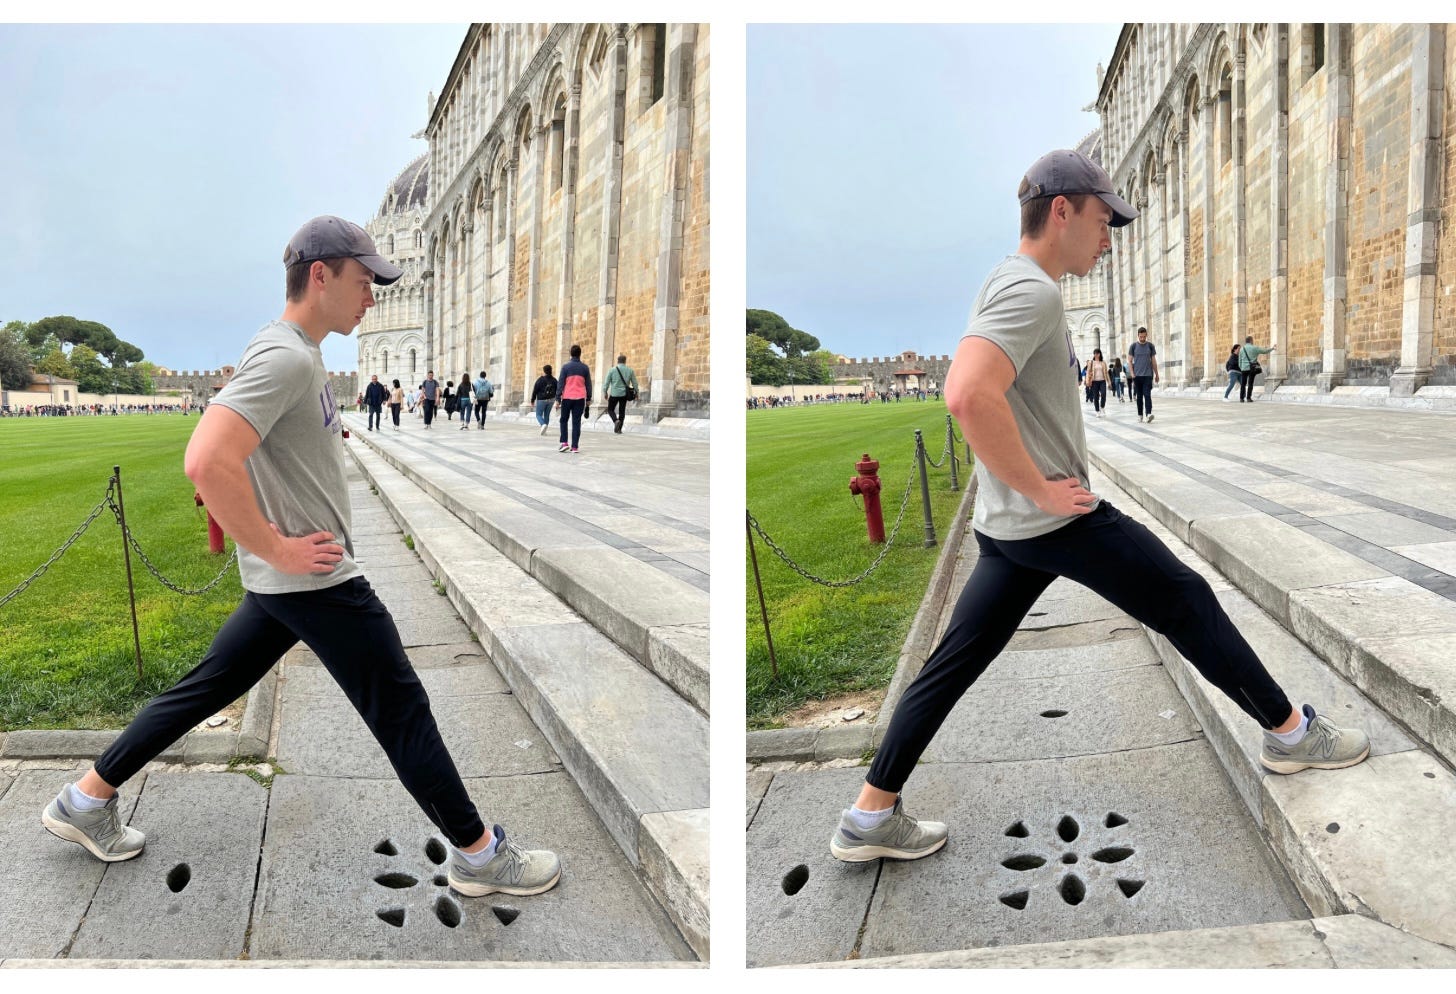
Exercise #4: ATG (Ass-to-Grass) Split Squat
The ATG Split Squat is the heart of the Knees Over Toes program.
It challenges the strength and mobility in your ankles and knees while lengthening your hip flexors.
While the goal is to eventually perform the movement on flat ground, it’s common to have tight hip flexors that might prevent you from being able to start there.
To make the movement easier, elevate your front leg as shown in the image on the right below.
Once your front foot is positioned, place your back foot so that your hamstring will be able to fully cover your calf, with an upright torso, in the bottom position.
This will take some trial and error the first time you perform this movement.
In the bottom of the squat, the toes on your back foot should be pressed to the ground, not rolling over.
Perform 5 sets of 5-10 reps per side.
3 Stretches to Unlock Your Hips, Hamstrings, and Low Back
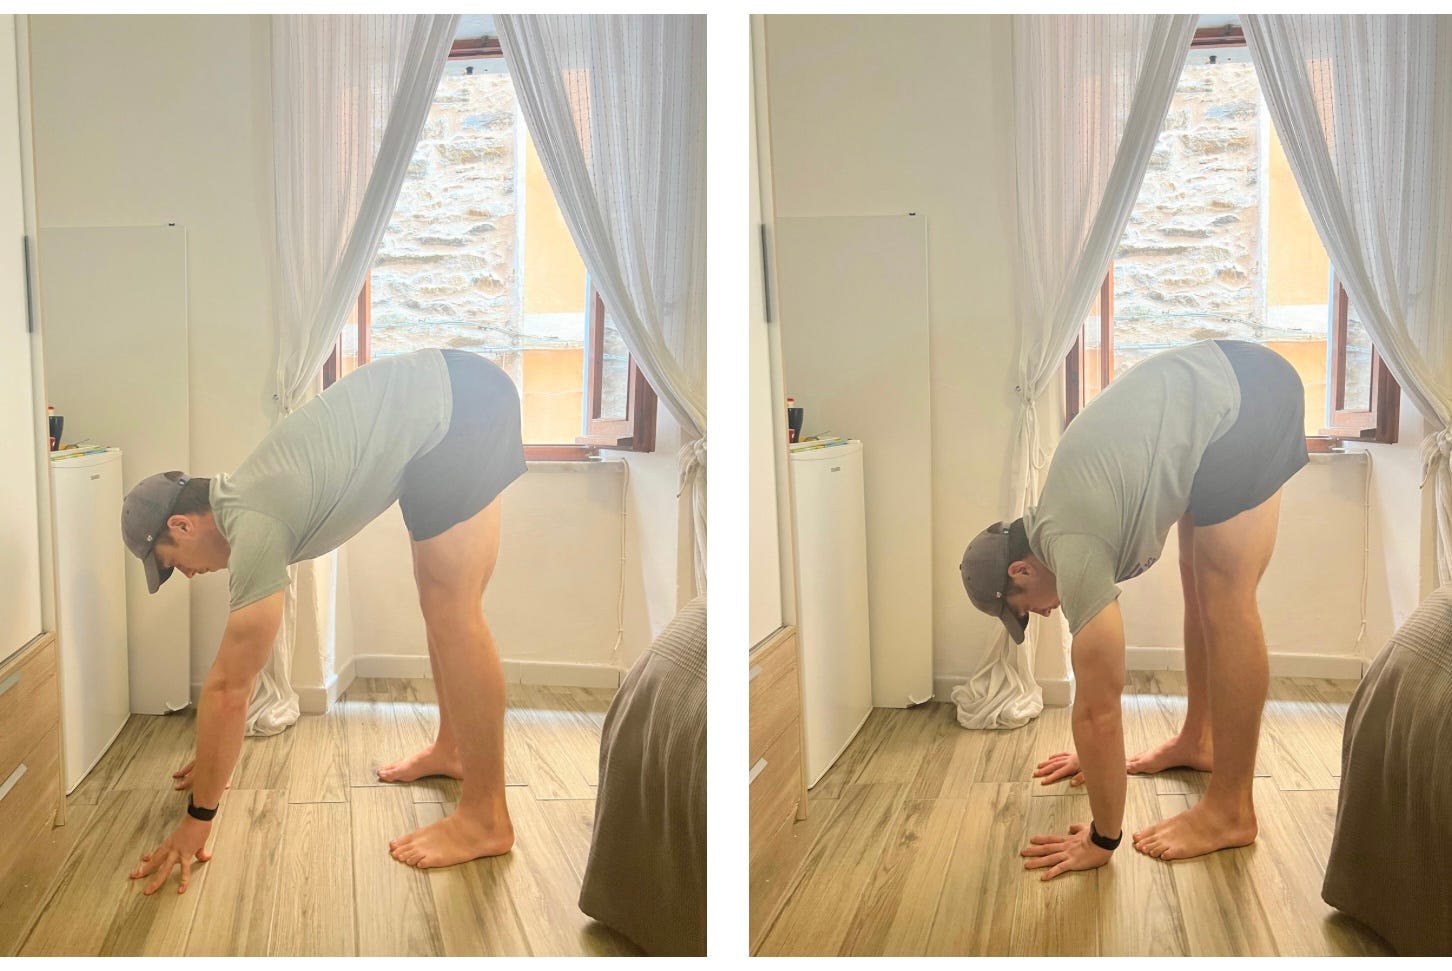
Stretch #1: Elephant Walk
From standing reach your hands to the floor so that your palms or finger tips can touch the ground.
The more flexible you are, the closer your hands will be to your feet.
The less flexible you are, the further away your hands will be from your feet.
Then extend or peddle each leg one by one.
If you can’t comfortably extend your leg, move your hands further away from your feet.
Aim for 15-30 reps per side.
Stretch #2: Couch Stretch
Grab a pillow or a towel to place under your knee and find a couch or another similar surface that you can prop your back leg on.
It’s critical to keep your spine neutral and not arched. Slightly contracting or flexing your abs will help you keep a neutral, straight spine.
The more flexible you become, the closer your butt should be to the back of your foot.
(Notice the different sized gaps between the left and right images above.)
Hold for 30-90 seconds per side.
Stretch #3: Pigeon Stretch
The pigeon stretch can be done on the floor or on a table-like surface.
Aim for a 90-degree bend in your knee. If you can’t do this on the floor, perform the stretch on a table.
To target different parts of your hip, you can lean straight, left, and right.
The images below show increasingly difficult variations of the pigeon stretch.
Hold for 30-90 seconds per side.
The Full Knee Ability Zero Program (Free PDF)
If you want access to the in-depth explanations and more photos for each exercise and stretch plus additional Knees Over Toes exercises from the Knee Ability Zero program, you can access the free PDF here:
That’s all for this week, folks.
Start integrating these exercises into your routine by performing Tibialis Raises, FHL Calf Raises, and KOT Calf Raises in between sets of your regular workout routine when you would otherwise be resting.
These movements aren’t fatiguing and allow you to put money in the bank for your knees, ankles, and hips instead of just waiting around to perform your next set.
Once you’re consistently doing that, add ATG Split Squats and the 3 stretches.
Finish the week strong and have a fantastic weekend.
Much love to you and yours,
Jack


